Video editing workflow optimisation is extremely important. With a thousand things to do in the video editing process, from arranging clips to choosing the right transitions, right up to post-production, you have enough to worry about without seeing the “render time remaining” begin to creep up instead of counting down.
There are a number of factors at play, and a variety of ways you can increase Video Rendering speed, without having to purchase a new video editing workstation, or upgrading your PC. Some of these tips may be old news to veteran video editors, but some may prove extremely useful – even if you have been in the industry for many years. This is mainly because every creative professional develops their own bad habits – and they are often hard to break.

What used to speed up your workflow two years ago may actually be slowing you down with modern editing. Industry staples like Adobe Premiere Pro and DaVinci Resolve have evolved over time, and as new versions are released, it is often small tweaks that make the most difference in speeding up your workflow. Instead of a workaround to an old glitch, you can now rely on the updated versions of these applications, and the optimisations they afford you.
What is rendering?
Rendering, often (somewhat incorrectly) called exporting, is primarily all about the compression of the combined media and effects, which results in a single file. If you need to export a completed video to see how it flows, and to make sure timings are right, then an export with high compression and lower quality might be the solution. For a perfectly rendered final cut of a file, you will want to render your footage. The two terms are interchangeable depending on who you talk to, and the software you use. Generally speaking, exporting is like “Save As”, and enables you to move through your workflow to the final render. With previewing and timeline work now much faster, thanks to high powered processors and graphics cards, rendering is usually the final step, and an export bypassed. The compression, however, is different for each of the tasks.
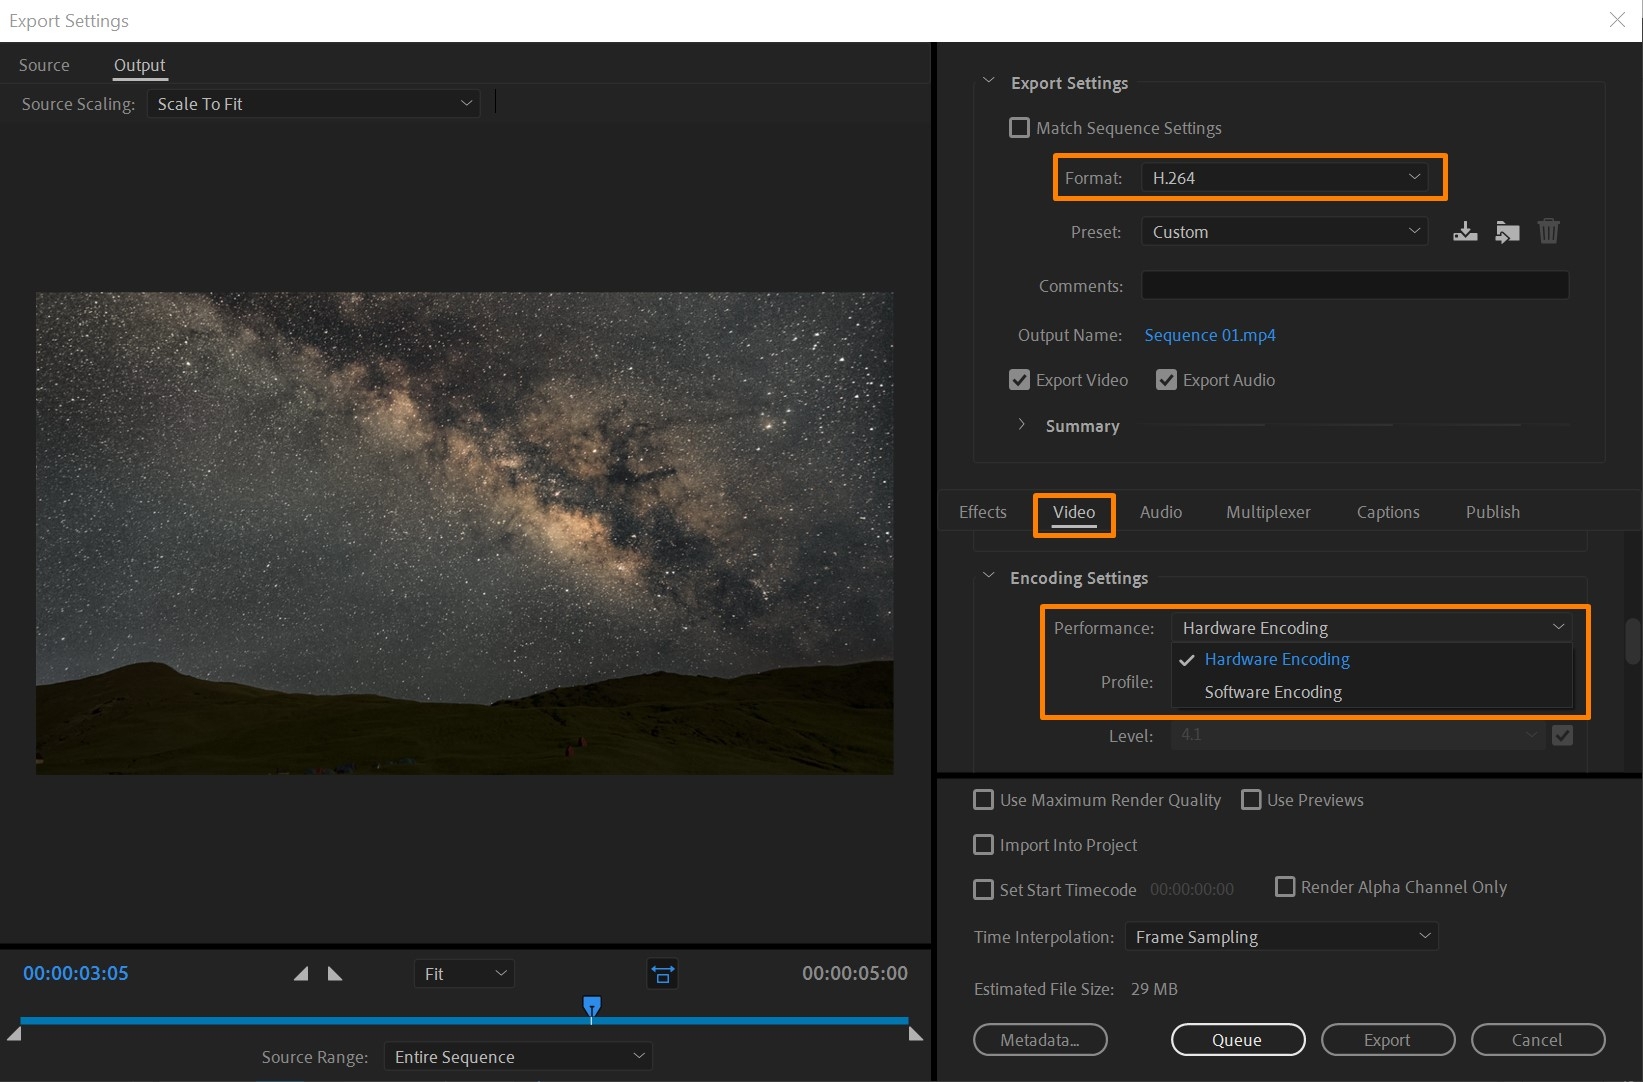
A compressed video file will export faster, and the balancing act comes in when you try to preserve as much visual detail as possible. Using hardware accelerations like H.264 and HEVC (H.265) improves the quality and speed, and means you need components designed to deliver performance.
So, in essence, you will always rely on your hardware to render or export your work, but you’ll also need to consider how you will use the file once it comes out of your video editing application.
What affects rendering speed?
There are three main aspects that affect your rendering speed: –
- Components and hardware
- Video editor settings
- Background tasks
Components and hardware
Naturally, your instinct would be to blame hardware for slow video rendering. It might well be the case, so it is worth figuring out if your specification is up to your workload. Also, it is worth noting that no two video editors (or videographers) are created equal. Both of these users’ workflows put different demands on a PC. Our recent article covered the best CPU for video editing, and compared the types of processor most suitable for video editors and videographers. This is an important distinction, and knowing the difference could save you money and time.
So, first, ask yourself if your specification meets your current needs. Your processor, graphics card, storage and memory all play their vital roles in getting through your workload smoothly. When it comes to video rendering speed, these are the components that matter, and what you need to get the job done quickly: –
Processor: A CPU that offers multi-threading is vital for speeding up rendering times. Multi-threading allows your workstation to run two tasks (threads) on each of its Cores, doubling the processing capabilities for Premiere Pro and DaVinci Resolve. Both applications are adept at leveraging multi-threading to speed up the process of video rendering, and are extremely efficient in workflows at even the highest resolutions.
Intel 12th-Gen Alder Lake and 13th-Gen Raptor Lake processors offer the fastest rendering speed, and AMD Ryzen 9 CPUs are almost parallel in benchmark tests. The absolute beast that is the AMD Threadripper CPU will decimate just about any high-end processor, however, and that obviously comes at a premium.
Graphics card: Having a powerful graphics card for video rendering means your chosen NLE (Non-Linear Editor) application can use hardware acceleration, and tap into the processing power and VRAM (GPU memory) during the process. For example, the Mercury Playback Engine (GPU Accelerated) and Hardware Decoding/Encoding (Intel® Quick Sync) in Adobe Premiere Pro and Adobe Media Encoder allows you to leverage the power of your graphics card when rendering H.264/HEVC.

Image source: Adobe
Offsetting some of the workload with a GPU speeds the entire process up, so a mid-tier to high-end graphics card is best for this. Choose an NVIDIA GeForce RTX 3070 or better.
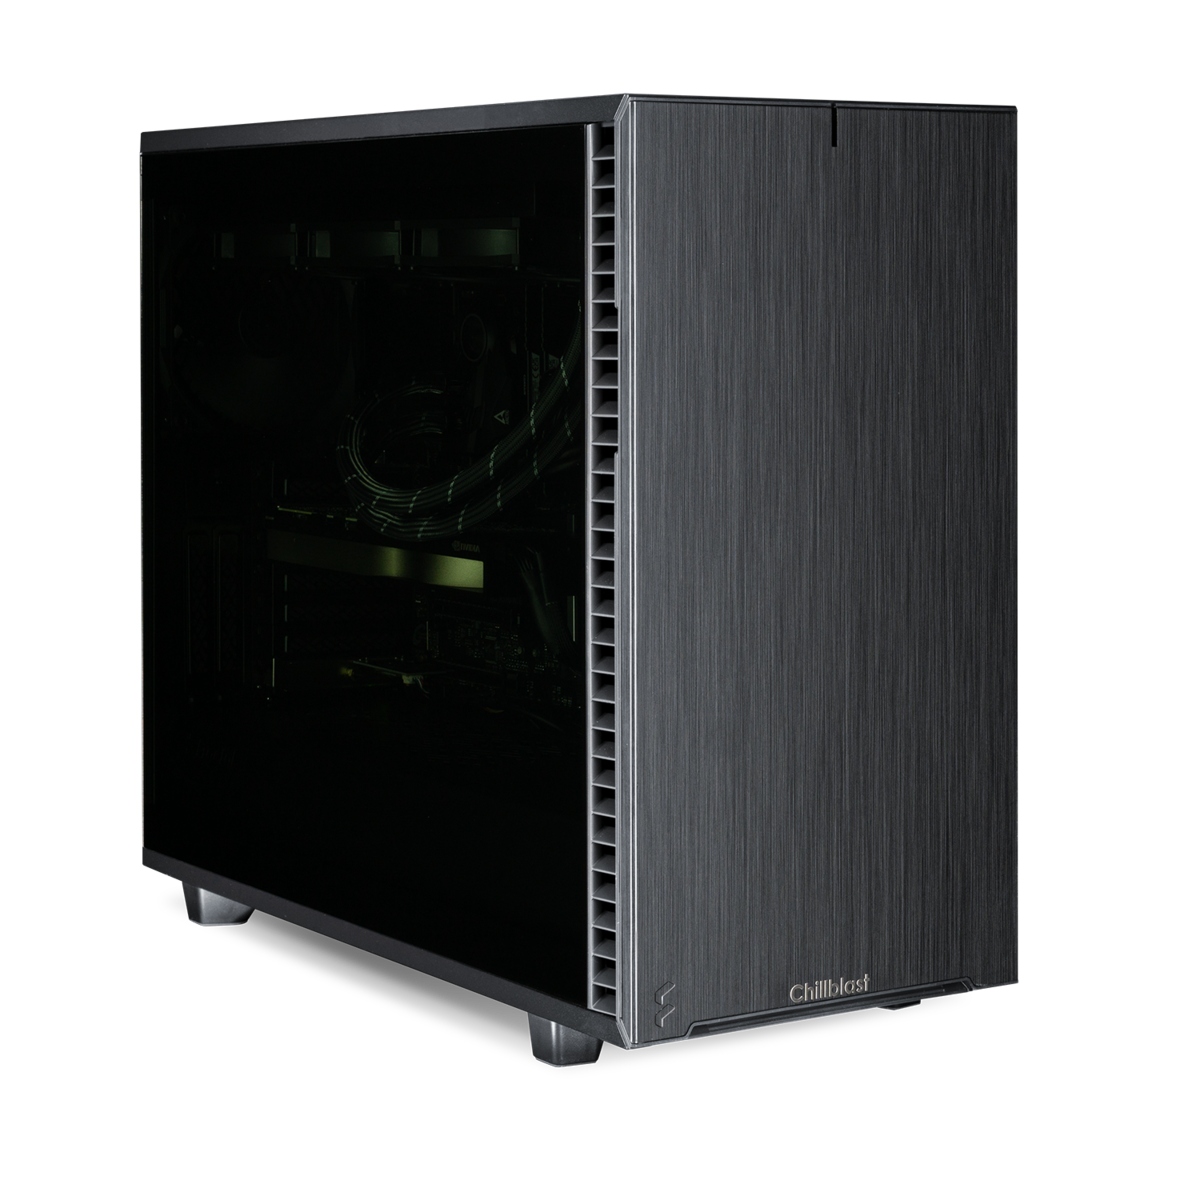
Storage: Fast storage can make a huge difference in rendering time. Most video editing PCs will include and SSD (Solid State Drive) and a HDD (Hard Disk Drive), and these are used in unison to get the most optimal workflow. For example, the operating system and applications like Premiere Pro are installed on the SSD for fast access. When rendering a video, you can also store the video file you are currently working on, ensuring you get the best speed whilst editing and rendering. For long term storage, you can then move the file from your SSD to your HDD. Large capacity SSDs like the 8TB Samsung 870 QVO Solid State Drive used in the Chillblast Fusion Creator RTX A6000 Workstation are perfect for this type of workflow.
Memory (RAM): The minimum memory you should choose for video editing is 32GB, and both DDR4 and DDR5 are suitable. The more memory you have, the better when it comes to video editing. That said, video rendering speed is not affected by memory, as long as you have enough. When your system runs out of memory, it will opt to use disk storage instead, and this will slow the process down.
Video editor settings
Your video editor settings play a vital role in render speed, so it is important that you familiarise yourself with the “best practices” for your chosen software. We will cover both Premiere Pro and DaVinci Resolve in more detail below, but here is some extra reading on render settings for each NLE: –
Background tasks
Cutting down on the processes in the background can speed up rendering immensely. Although modern CPUs use technology like Intel’s Thread Director to decide what the most important task is, you should certainly allow the PC to work on the rendering alone – and not overtax the processor or graphics card. Memory is also used in any background tasks, so it is advisable to cleave all other applications closed during an export.
Increase rendering speed in Premiere Pro and DaVinci Resolve
Into the meat of this article, and we begin with one of the world’s most popular NLEs – Adobe Premiere pro. Capable of delivering an entire workflow for a video editor, Premiere Pro has been optimised by Adobe over many versions to include support for hardware by both Intel and AMD, as well as NVIDIA. BlackMagicDesign, the developers of free NLE, DaVinci Resolve, are also very keen to offer as much compatibility as possible, and to ensure users have optimised workflows using their software.

By working closely with hardware manufacturers, both BlackMagicDesign and Adobe are able to deliver a tailored rendering solution which aims for speed and performance optimisation. Quite often, however, there are little tricks and tips that make things run even smoother.
Video Rendering Tips:
- Increase your memory (RAM) allocation As a default, your NLE will set a specific amount of RAM for use, but this can often be increased. Doing this will ensure you are maximising efficiencies of the software (especially if you are not running any other applications).
- Use GPU acceleration GPU acceleration, as we have learned, makes a big difference. If you do not have a powerful graphics card, consider upgrading to take advantage of this render speed increase.
- Optimise imported assets Ensure the assets you bring into your media folder or timeline are as optimised as possible, so the NLE does not have much work to do during rendering/export. Run your graphics, audio and media files through optimisers before importing.
- Reduce the number of effects A simple but very effective way of reducing rendering times is checking you’re not overdoing it on effects. If you can replace an effect with a clever cut, or use a less intensive transition instead, then this might save extra time in the final process.
- Clear the media cache Both Premiere Pro and DaVinci Resolve use a cache that can slow things down once it comes to rendering or export. Check that you have cleared this cache before going to render.
- Render and replace dynamically linked components Using dynamically linked assets and components increases the processing time for your NLE, as it searches for and imports components. Render and replace any dynamically linked assets like fonts and effects to avoid this.
- Reduce the number of background tasks Having just your video editor running will significantly improve performance. Consider closing down any background tasks and opening them on a laptop or your phone instead.
- Use media encoder It is possible to use Premiere Pro while rendering your video project,by using Adobe’s Media Encoder. You can also automate your workflows with presets, as well as watching folders to begin tasks automatically as files are saved.
Using a combination of the above tips and tweaks, you should see an improvement in your rendering speed. If you think your PC is not up to the task, and you are in the market for a creator PC, Chillblast have over 20 years of experience in delivering excellence for video editors, gamers, and PC enthusiasts of all types.


